Hey guys!! Lets get the laundry room tutorials goin’ shall we?!
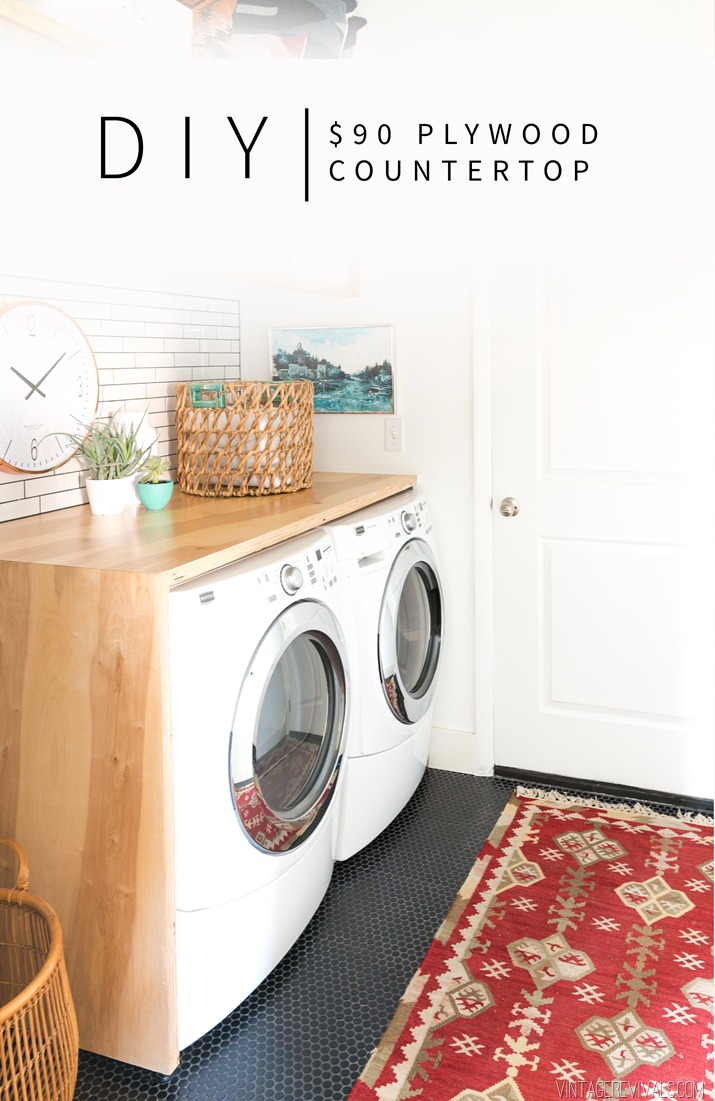
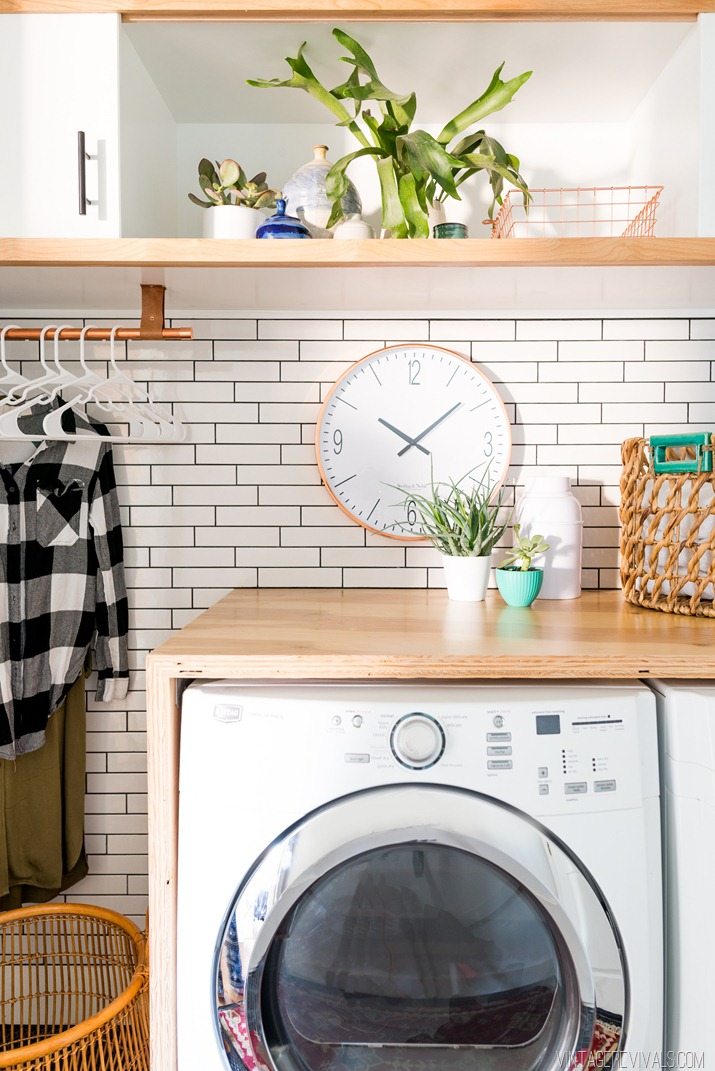
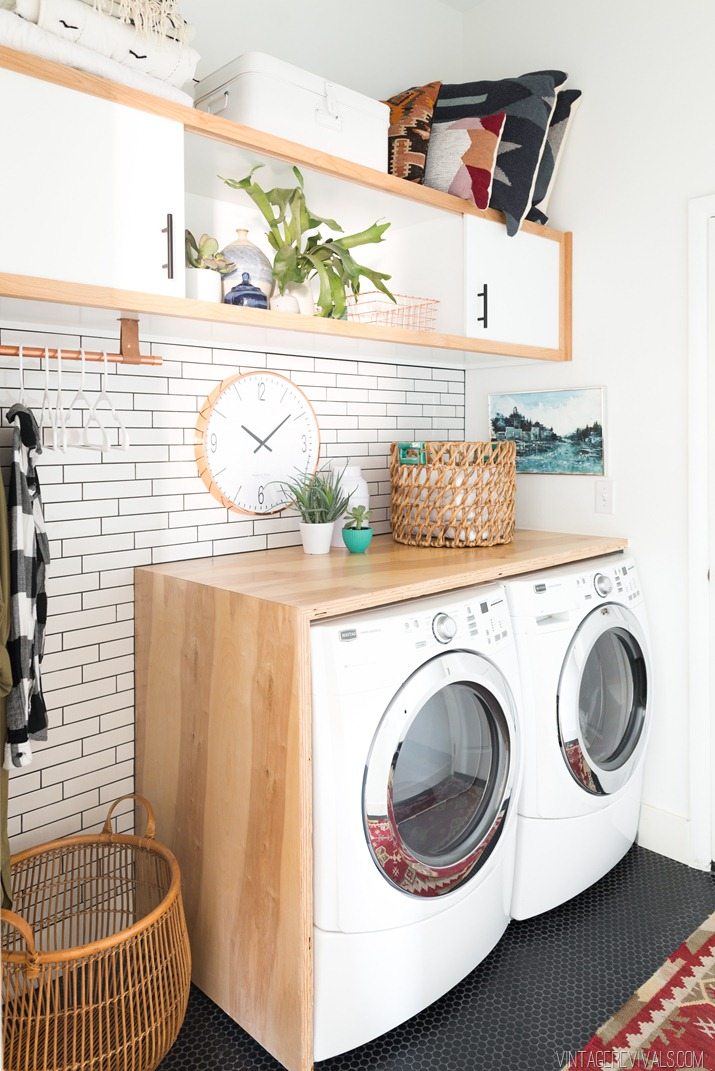
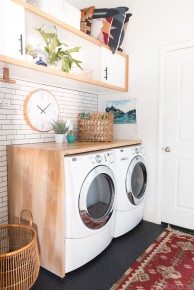
When I was planning the laundry room makeover I knew that I wanted the countertop to be wood. Wood just adds so much life to a space and with all of the tile and painted surfaces it needed some liveliness! It also needed to be budget friendly so spending a $1000+ on butcher block was just not going to happen. Factor that in with the 2 week turn around and it was even more far fetched. Do you know what I love? Projects that just seem completely impossible, that is where creativity thrives (when you read the word thrives picture jazz hands!)
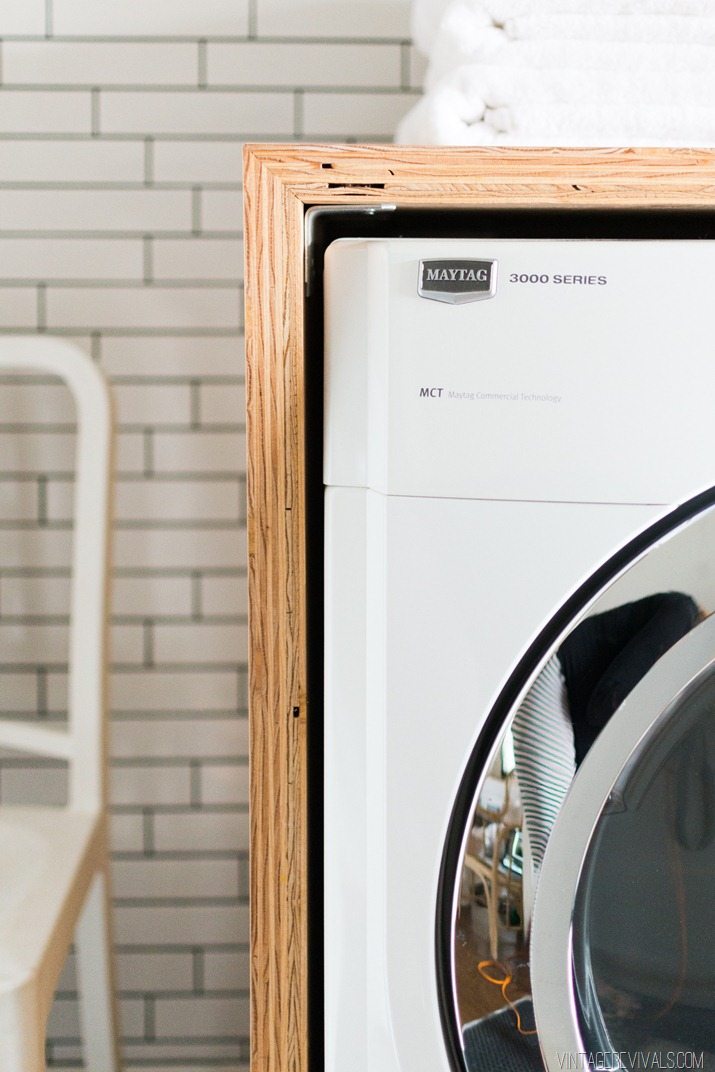
We pulled this whole job off for under $90! WAHOOO! And in case you were wondering if we were still loving the stacked plywood look, the answer is a resounding yes. We get so many compliments on the tables at Durango’s, it just makes my life.
To make this project you’ll need:
(2) 4×8 sheets of plywood (1 premium and 1 not-so-premium)
Wood Glue
Finishing Nails
Wood Screws
Feet
Brackets
Polyurethane
Start by measuring the size that you want your countertop to be. You’ll need to leave at least an inch between the top of the washer/dryer and the countertop and an inch on each side. I had some people ask about their dancing appliances. If your washer/dryer move around when they are cycling they need to be balanced better, it shouldn’t effect your countertop design. Heck maybe it will help tone it down a little?
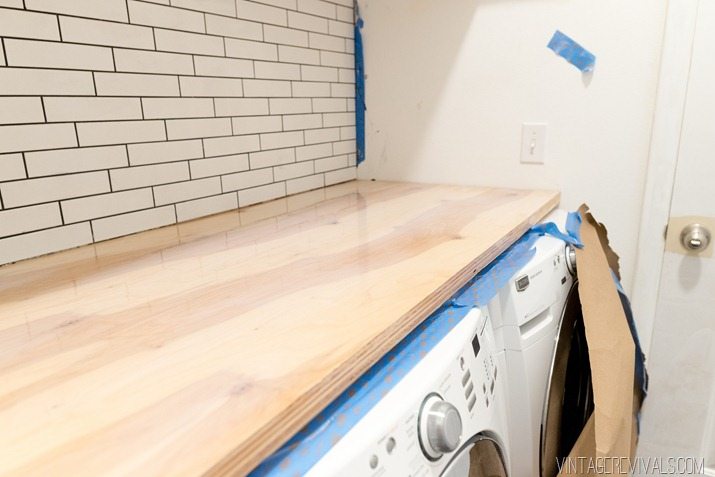
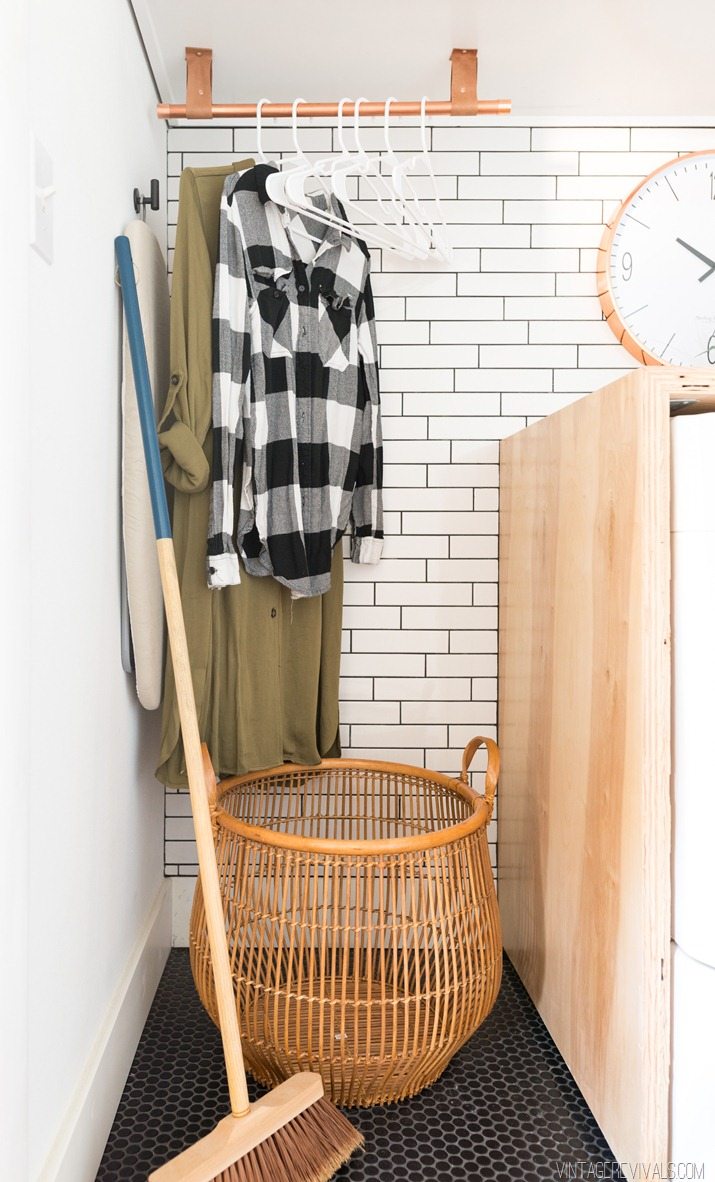
It was super important to me design wise to have the wood grain waterfall down the side (so that its continuous) because plywood comes in an 8 foot length you’ll want to keep that in mind if you are planning on doing the same! We used the entire 8’ length for our countertop.
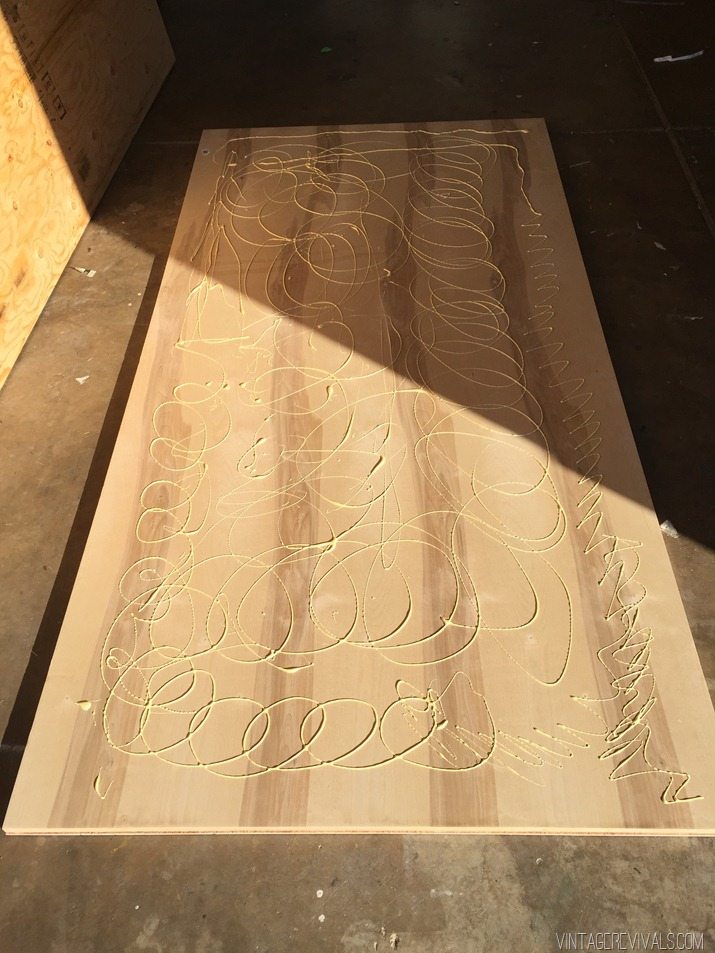
The first step is to glue your sheets of plywood together. You’ll need 1 sheet of premium plywood (ours was Birch) and one sheet of regular plywood. Using the regular plywood on the second layer will save $, which is always a good idea. We started by gluing together the sheets of plywood with Titebond III wood glue and letting it cure for 48 hours. You can use wood clamps to hold it together while its curing, or you can use screws. If you are using screws, just make sure that they aren’t placed where you need to make your cuts!
Once everything is dry, use a table saw to cut it to size. Make sure that the side that waterfalls down is cut at 45 degree angles so that they match up! (You’ll do this by setting your saw blade to 45 degrees before you make the cut!)
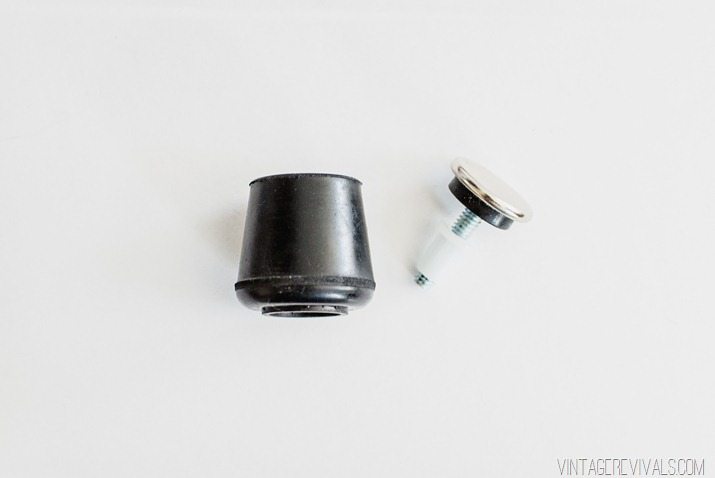
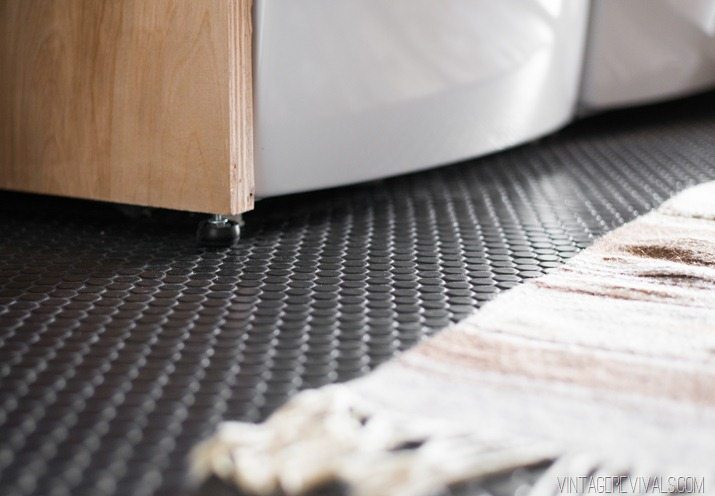
We didn’t attach the corner together until we were installing the countertop. I didn’t want the waterfall side of the countertop mounted to the brand new tile, so to stabilize it we used feet. That way they could be adjusted to the exact height and easily level everything out.
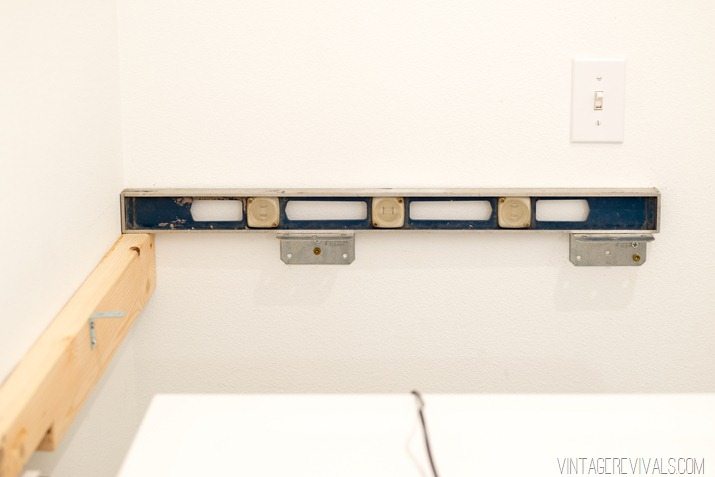
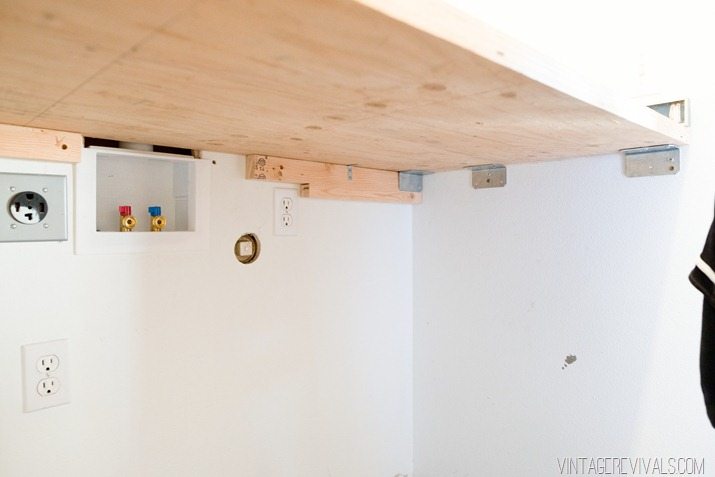
To brace the countertop we installed 2×4’s into the studs along the back wall and corner brackets along the side wall. Make sure that they are level and at least an inch above the height of your washer and dryer.
We secured the top of our countertop to the brackets using wood screws.
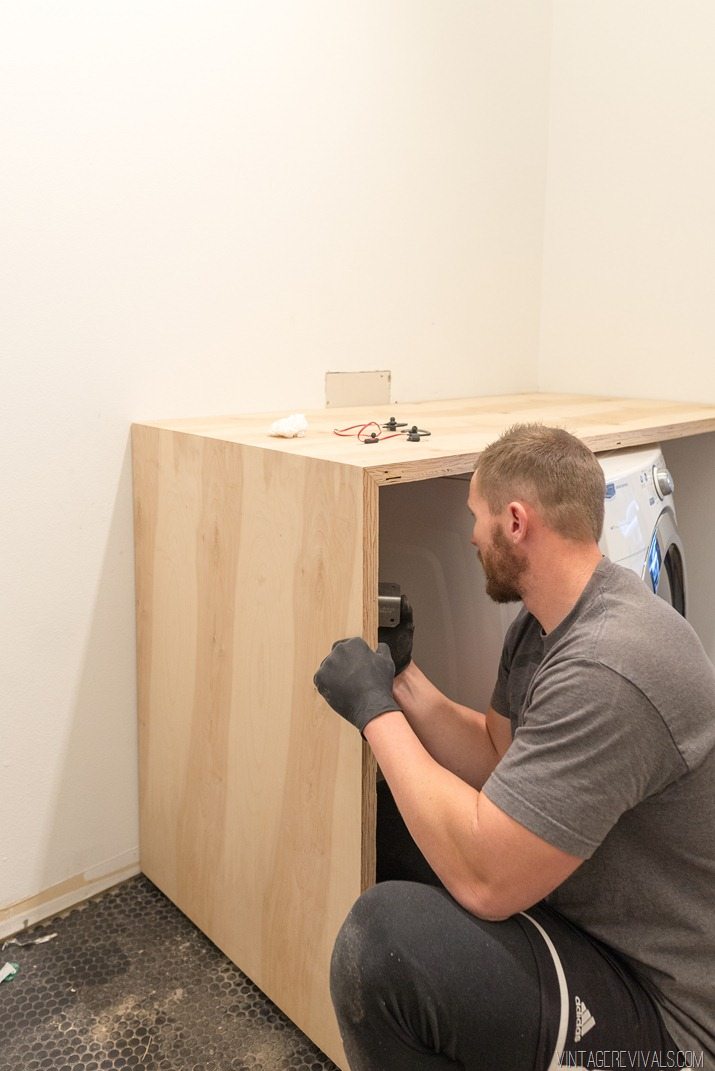
To join our 2 pieces to make the waterfall, we put brackets on the top piece and secured it to the side of the vertical piece.
Once everything was installed I gave it a light sanding with 220 grit sandpaper to smooth everything perfectly and applied a coat of Triple Thick Polyurethane.
If you have any questions, leave them in the comments, I’ll be happy to help answer them!
Don’t miss any of the other tutorials in this series! Check them out below:

Your laundry room is so clean! I really want to add a counter over our washer/dryer, but my dryer buttons are on the little… thingy… that is on the back of the machine… even though it’s a front loader. I keep wishing I could convince my husband it’s a necessity to get a new machine!
What thickness are the individual sheets of plywood? 1/2″?
They are 3/4″ each!
xo
m
Wow, so your wood is 1-1/2″ thick when completed?
Looks great – I’m truly inspired to try this for our 1963-era house!
Lol forget the plywood, what thickness is your husbands arms?! Amazing. Love the countertop too! Pinned.
That clock is awesome, where is it from?
It is from Target! So good, huh? I almost bought it and I think I might have to go back and get it!
Thank you!
Love this! Can the premium plywood be stained or is it ‘grainy’?
Kristin, yes, you can stain it! Here’s what you should know:
Premium plywood is still just a veneer facade. That means you can’t sand it too deeply or it will rip up the veneer layer.
That said, if you want your stained piece to look like professionally finished wood, you should stain, then wait until it is completely dry to sand it. Use 220 grit or better and LIGHTLY sand in the direction of the wood, or with a random orbital sander. Repeat until the plywood is the desired color.
Once you have stained, protect with the finish of your choice. If you are doing more than one layer of polyacrylic, you can sand between each layer, and I would recommend by hand for the best result. Don’t sand the last coat. Don’t sand if you’re finishing with wax or oil.
I hope this helps!
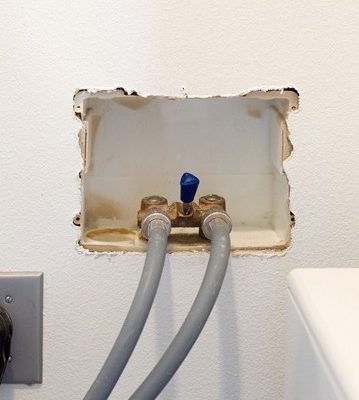
This looks AMAZING! Quick question because I’m a newbie home owner and don’t know much about houses yet – how do you access the water connection in the event of a leak? Or is it so unlikely to leak it’s not a big deal?
Thanks!
Allyson
that looks great!
Love the counter top and tutorial! I was wondering if a version of stacked plywood would work as stair treads? Do you think they’re strong enough?
If you had it to do over, would you apply the poly before you put the countertop up (after cutting)? I’m wondering if the angles/tiles made it more awkward to apply/more likely to drip!
Love the idea! AMAZING!
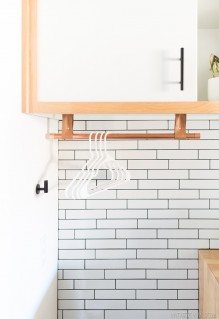
Fantastico! I would fill the holes on the face with blond wood filler though but other than that it makes me wish I had a front loader for the first and only time ever! ha ha …not for the laundry just for the beautiful woodgrain waterfall. And love the Copper hanging rack I guess I missed the laundry room makeover 🙁
Well done — impeccable attention to detail — looking forward to reading your blog posts — question: what are the grout color(s) you used on the floor and wall tiles?? — thanks
That is by far the coolest laundry room I’ve ever seen. Amazing! Is the cabinet above the washer/dryer Ikea? And where did you get that awesome rug? Can you tell I have serious laundry room envy right now?
Looks so fresh and inviting and might actually make doing laundry not such a chore! Live your ideas!
I would never have guessed it was plywood – it is such a great fit for the space!
Hmmmm…. Don’t have a worthy laundry room to do this in, but am working on a plan for our small entry in our small townhouse. Wondering how I could adapt this to work as a narrow shelf?? A bench for sitting on with baskets underneath???? Is it sturdy enough of a surface for sitting if we come up with legs for a bench?
Great stuff, as usual!
So cute! Do you think I could make a simple headboard like this? Is that cute??
Those shelves are really nice to have in a laundry room. You’ve used the plywood to add extra shelving and make a rolling table. I love both ideas!
Totally refreshing! I think I might fold my clean laundry if I had a space like that 🙂 Will you be sharing a Durangos update soon? I’m anxious to see what you’ve done at the restaurant, I’m sure it’s amazing!
Question: where is that fabulous basket from? Comment: I really want to make this idea work for a kitchen control 🙁 it’s just so gosh darn beautiful!
Would love to see answers to all these questions! Such a fun project!
That is a great idea, looks amazing. What type of floor is that?
not sure if you answered this yet, or planning on making a post about it, but where is the cabinet from?
Would love to know where that cabinet is from too!!! Love it!
Lovely! I’d like to know what’s on the floor too – we’re looking for something black but the choices are pretty limited. Thanks.
We have this and it’s gorgeous! https://www.homedepot.com/p/Home-Decorators-Collection-Black-Slate-8-mm-Thick-x-12-in-Wide-x-47-in-Length-Click-Lock-Laminate-Flooring-18-56-sq-ft-case-934057/205871642
This is amazing!! Id pay you to make this for me haha. Not very handy myself unfortunately 🙁
Well done! Your designs are fabulous and so creative. Did you also make the shelves or were they purchased? What a great laundry room addition to remove the visual clutter of detergent bottles!
Looks amazing!!! Where did you get that rug from?
I love this idea! I love plywood : ) Can you tell me if you left the edges raw? It looks like you did. I thought there was a product that you could “iron” on the edges to finish them. Have you heard of this or ever tried it? Secondly, what is the website where I can look at the tables you referenced in the article — Durango’s? I’d like to look.
I love this!
My (probably dumb) question is how were you able to do a miter cut (for the waterfall edge) on a piece of wood this deep? I have a mitre saw, but it only saws up to 10″ or 12″.
Hey Alix!
Not a dumb question at all! We used our table saw and set the blade at a 45 degree angle!
xo
m
Thank you so much!
It looks lovely, I am planning to do the same, question on the waterline? How can you reach to the water lines? What you do with you electric lines?
Love! You could also face frame the plywood with 1x’s or lattice moulding.
Love, love, love! How can I hide my horribly ugly hot water heater? It is next to the dryer.
What type of wood is the plywood? Birch or Maple?
Home Depot sells both…
She says it’s birch in the article.
Hi there!
What kind of wood is the plywood?
Maple? Birch?
I want to get the same kind at Home Depot…
Its Birch!
Hey Mandi!
I was wondering your thoughts on using these countertops for a kitchen. I really like the stacked look but am not sure how they would hold up. I would of course use a food safe sealant if we do them.
Thanks!
If I want to do a longer bench, would the wall bracing be enough or would I need extra vertical supports to make sure the bench doesn’t bow?
Love this! We plan on making the counter for our laundry room. Where did you get the little black feet?
Thanks!
I’ve removed the Formica from my kitchen counters and sanded and used Waterlox to finish! Not done with the satin finish yet but so far so good!! They are birch grade plywood.
Which type of plywood should i buy for the nonpremium one if shopping at Home Depot? Seems like the cost for just the two pieces of plywood alone would already exceed $90. For the premium one I’d get the PureBond one.
This is exactly what I need for our refrigerator… would this be doable with such a big appliance too?! Looking forward to hearing from you.
Thanks!
Four years ago we had plywood installed for our kitchen counter tops. They were sanded, stained and polyurethaned …..about 6 coats in all with hand sanding between coats as you recommend. The counter tops turned out great. I had never heard of this method before and it was a suggestion of my contractor. I was supposed to sand and add one coat of polyurethane about every 1 to 2 years. Have not gotten that done but am not in the process of doing it again. Lots of compliments on my counters. Not to worry about the marks/scars on the plywood. They just show up great and give the whole kitchen a lovely character. I would send you a picture but don’t know how to get it onto this page. I am really glad to see your post. Thanks 🙂
Was there any bowing in the middle as it aged?
Just looked back at tis tutorials after seeing the lego/work table. Love it. My only concern would be putting your water shut off under the countertop. We had a hose break( of course we were out of town and had a house sitter thankfully). Of course you can turn the whole house off but having that shutoff accessable is really nice.